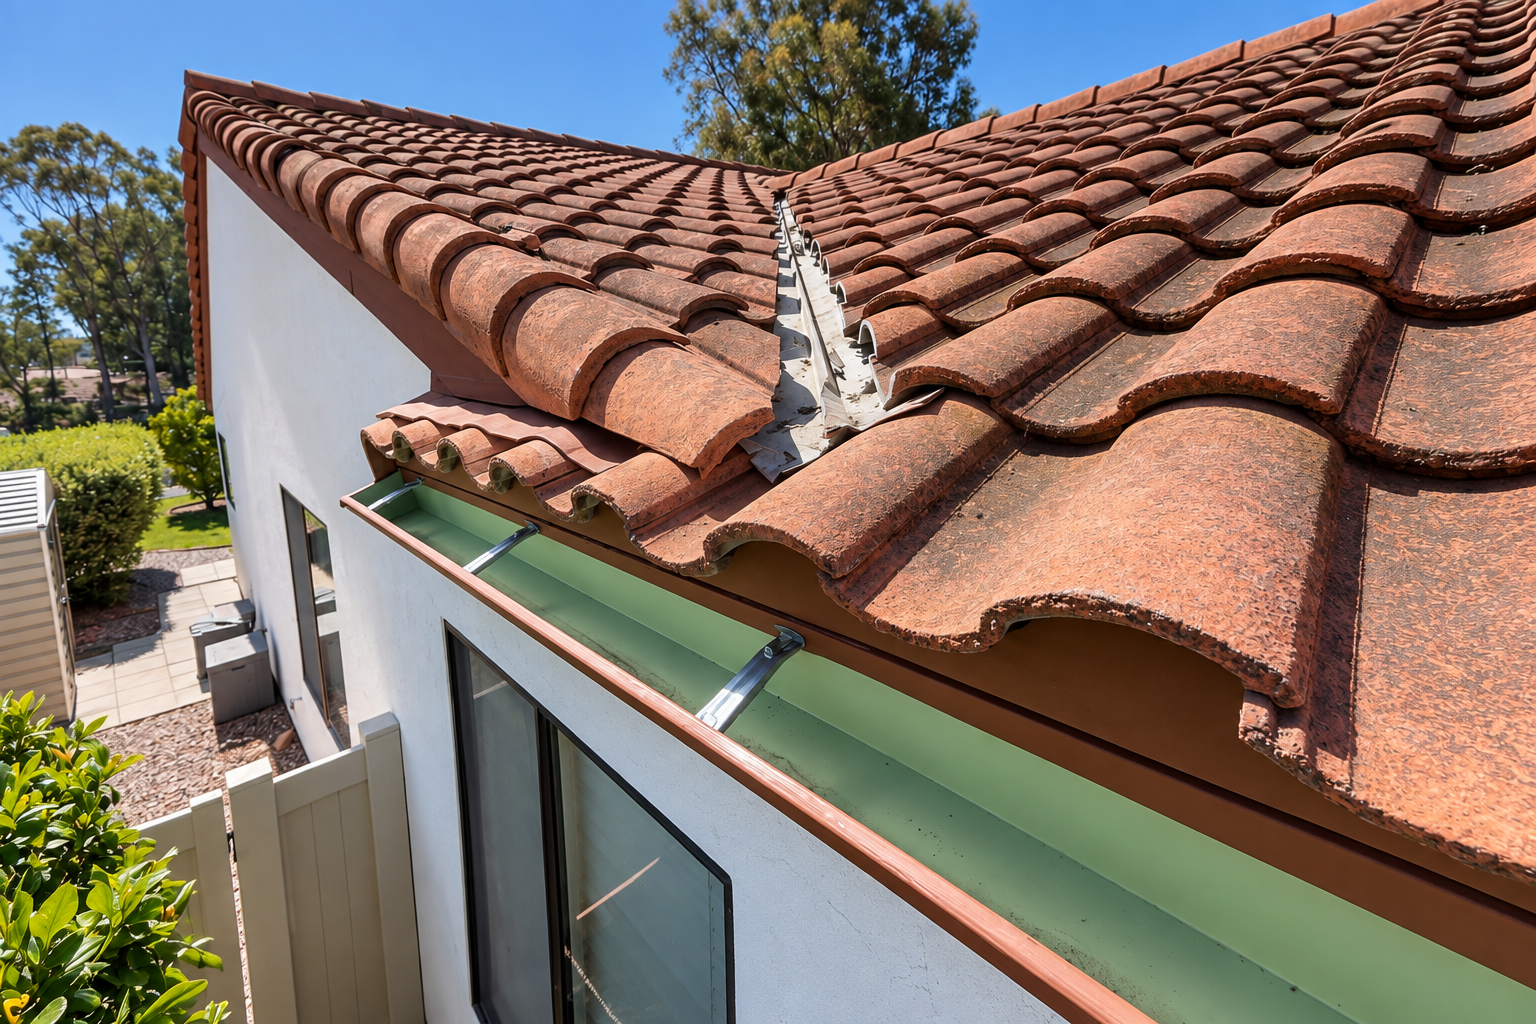
Begin with orientation views
Photos are most useful when they preserve scale and direction without unsafe access. Build a sequence from overview to detail and label locations consistently.
Photograph upstream and downstream
Include dry and wet conditions when naturally available; never create a flood for testing. Mark collection points, the observed wet area, the intended outlet, surfaces to remain, and the route crews and materials can use. List testing, excavation, finish restoration and inaccessible piping separately. That makes it possible to compare whether proposals address the same water path rather than merely using the same drainage label.
- Whole-property orientation
- Upstream collection point
- Observed wet area
- Downstream route
- Affected walls or finishes
Stay out of unsafe conditions
Do not climb roofs, enter moving water or disturb unstable ground to document a concern. Excavation or controlled opening can reveal a different pipe route, unsuitable connection, damaged substrate or additional affected finish. The scope should identify who reviews that finding, what evidence is recorded and which work pauses. Utility, structural, environmental or permit questions remain with the responsible qualified party before the drainage boundary expands.
Pair wet and dry observations
Keep dates and simple location names while removing tenant and access details. Drainage closeout should show the accessible route worked on, installed or retained components, surface restoration, approved changes and the intended discharge condition observed during the agreed review. It should also list untested buried sections and excluded upstream or downstream work. A completion photo alone cannot establish performance in every future storm.
Label locations without private data
Use the photo set to decide whether a paid field evaluation is appropriate. A useful option ties its method to the observed route and property constraints. It identifies who supplies drainage components, what paving or landscape is disturbed, how excavated material is handled, which finishes return, and when the area can reopen. Product requirements and verified elevations guide installation; the guide cannot select a system from a photograph.
Use photos to plan the visit
Send the smallest complete set that shows the path rather than many duplicate close-ups. Where the route, elevations, concealed connections or restoration limits remain unclear, AWC may recommend the $250 Site Evaluation + Written Bid Package. The fee is credited if the resulting project is approved within 30 days. Prepare safe water-path photos, known drain information and the approving owner or manager before the visit.
A safe water-path photo sequence makes the first review more useful without pretending to diagnose.
Continue planning
Water Collecting Near a Building: Repair Planning
Map roof runoff, surface flow, walls, openings and discharge before approving work near a San Diego building.
Read the guideHow to Compare Exterior Drainage Repair Scopes
Compare drainage proposals by observed path, access, removal, installation, restoration, exclusions and checkpoints.
Read the guide